You see lots of posts online with intricate flourishing, varying colors and writing that appear so graceful on paper, as if the letters dance. Then, you say to yourself, “I want to be able to do that too!”
Well, my friend, welcome to calligraphy!
With so much information and styles available online, where do you start?
- Surf the internet, browse through Instagram and Facebook pages and see which style and medium you gravitate to. What you will commonly see online are copperplate/engrosser’s script, spencerian script and modern/freehand calligraphy, using either a pointed or brush pen. There are a few who do gothic and italic/chancery styles. There are also those who use folded pens and ruling pens to create letters.
- Read up on the style you like. And watch some tutorials on YouTube. There are a lot of free resources online. Find exemplars you could use as reference for practice. Google and the internet are your friends. A couple of sites you may want to check out are IAMPETH and The Flourish Forum.
- Self-study or take a class (or 2) to get you started. If you’re lucky to have a friend who does calligraphy, ask for a quick tutorial if you don’t want to attend a big class right away. There are also those who offer private tutorials, if that suits you better. It really depends on what your learning style and budget are. Some classes could get a little pricey.
- If you buy materials, stick to the basics. It could become an expensive hobby. For example, if you’re just learning pointed pen, stick to a basic pen (like a Speedball holder), a bottle of sumi/india ink, a G nib and ink-friendly paper. If you’re going with a brush pen, stick to a few colors you like first instead of buying massive sets that have almost every color in it. If you want to use watercolor, stick to student grade ones that are available at your local craft/bookstore. You could always expand your collection later on once you get the hang of writing calligraphy. Also, you will be in a better position to gauge what tools/materials you would need and/or like.
- Join online communities or get together with other calligraphers. This is the perfect way to get tips and try out other materials and styles. The calligraphy community worldwide, in my opinion, is quite welcoming. You’ll definitely gain several friends along the way.
- Practice, practice practice! Set aside some time on a regular basis to practice. It’s always frustrating in the beginning and your letters aren’t going to come out the way you want them to in the beginning. If you give it enough time, you’ll see they get easier and nicer.
- Check out online challenges also to help you practice and get those creative juices flowing. Try checking the @handletteredABCs and @jennyhighsmith accounts on Instagram and feel free to join in whenever you can.
- Don’t be afraid to ask. Post a question online or ask a calligrapher friend if you want to ask what tool, pen or ink they are using. People will usually get back to you when they can.
- Track your progress. I suggest keeping your old practice sheets. It’s always nice to come back to it after a few months and see how much you’ve improved.
- Have fun! Don’t let writing letters stress you out. 😉
Happy writing!
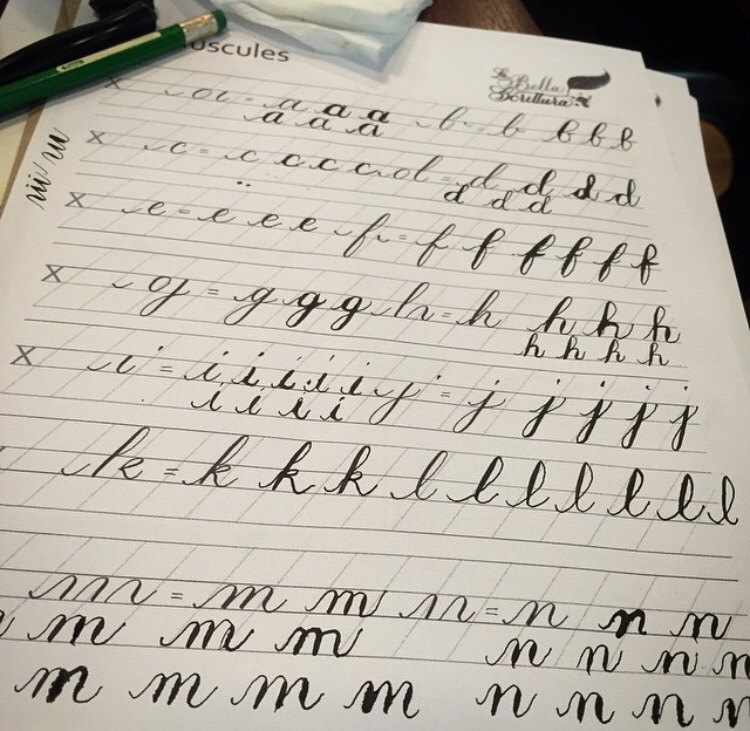
P.S. This was my practice sheet when I took my first pointed pen calligraphy class almost 9 months ago. Leaves much to be desired! Hehehe! So, trust me, you are not hopeless! We all have to start somewhere. Just keep at it. 😊